How to Organize Your Computational Notebook?
This section will provide an example to illustrate how to organize your computational notebook. This will be helpful for all students to make sense of the notebook and especially helpful in preparing accessible content.
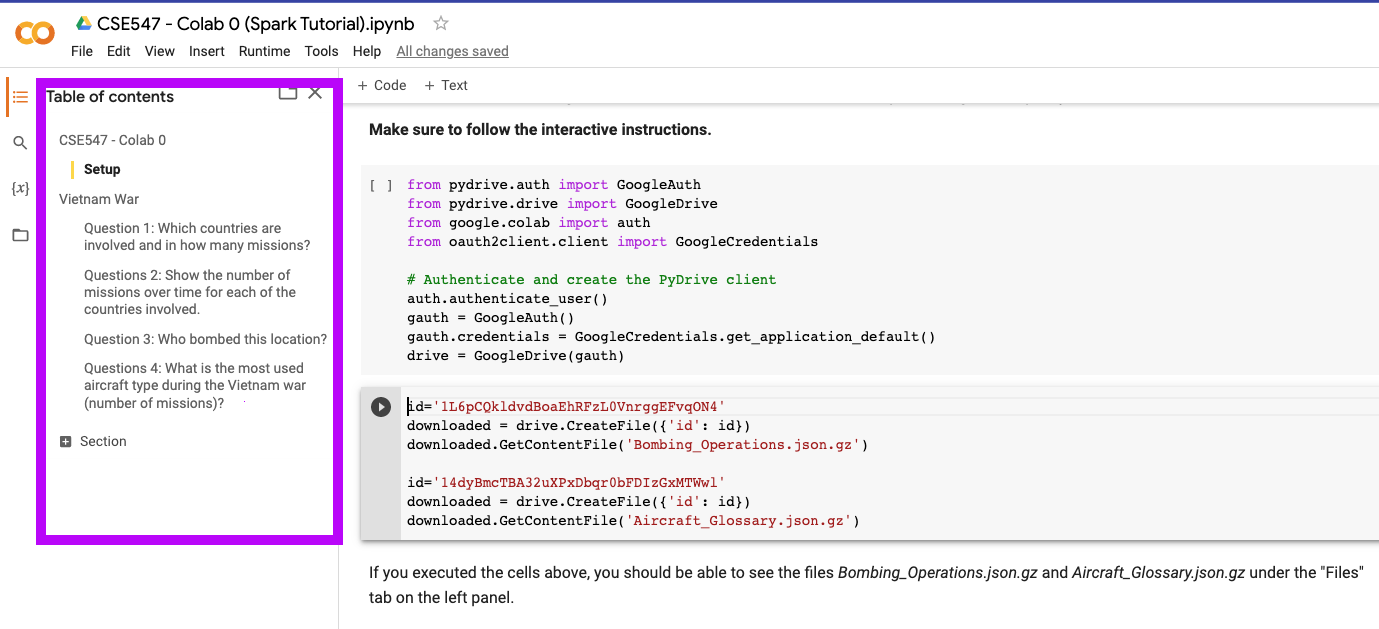
1. Check the table of contents.
Check the table of contents on your Colab left bar. Make sure each section has a clear title and description.
2. Divide the Colab Document into Separate Python Scripts.
A good guide to organizing your Colab notebook is to divide it into separate Python scripts. Migrate the sections into separate Python scripts. The goal here is that screen reader users can work on the modular script for each section.
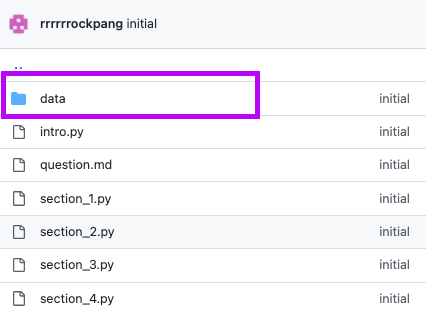
You might realize that we created a separate data folder in the GitHub directory compared to drive = GoogleDrive(gauth), which is unique to Google Colab. Make sure that you share your data file (e.g., Google Drive) so that everyone can have access to it.
3. Run the notebook to make sure everything works.
Always run the notebook before releasing the homework. Also, host your notebook in a shared environment that can be tested by the course staff ahead of time since library incompatibilities can present significant barriers to students.